Welcome
Nit sure that these are totally in the right order. Still got to do all the audios
I will look at later – now to be in the garden, plus D has to do this work and it is now daytime . .
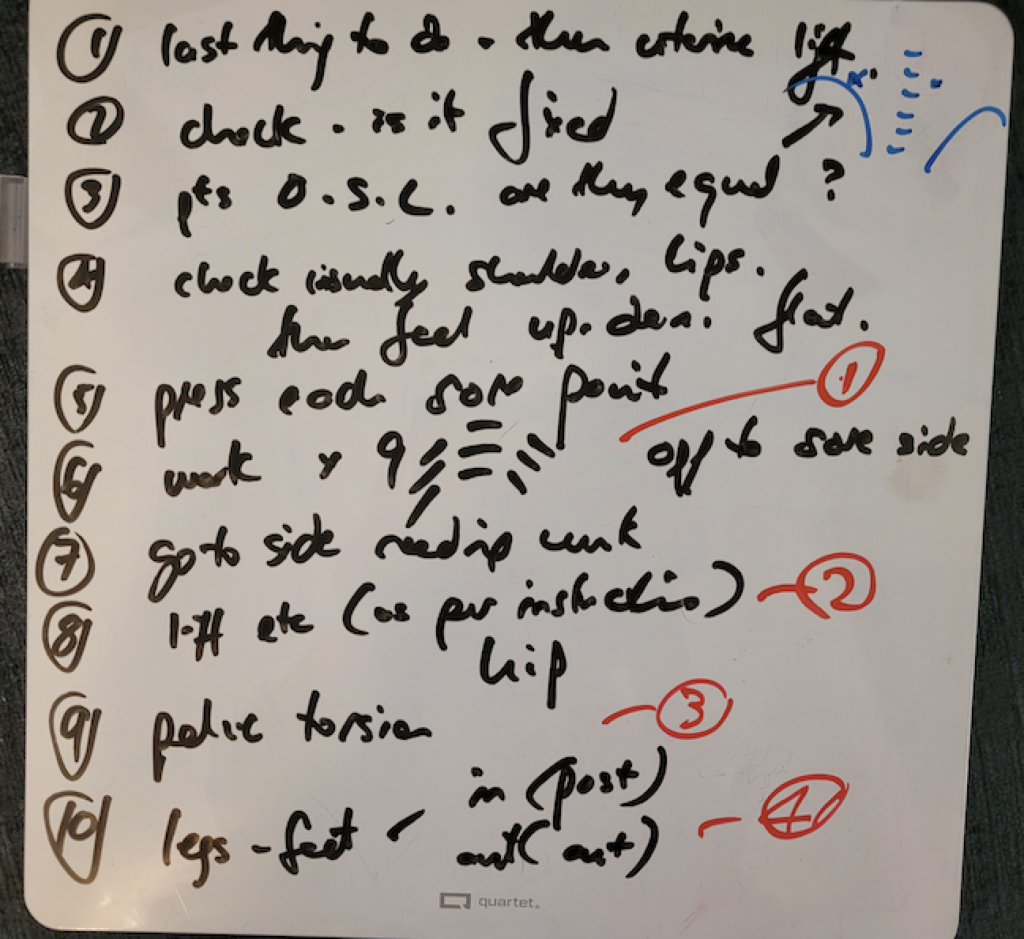
This is my version – as I have obviously gone off on huge tangents.
The trick is to do a lot of people constantly, and think ‘why is it not doing what i wanted?” at the same time.
This final set of moves, f needed, clears pelvic torsion. As with all my demos – maybe look at the later ones with more certainty as I have been playing with this since 2014, and after doing Mercier work in 2016, the entire process became – do what works best. Not protocols from them, n=but me adding in what looked sensible.
1 – decide what you have to do
2 –
1 – Setting up – 1.38
What side to work on – posterior or anterior? In this case (as is usual) anterior.
2 – First fix (Where the ligament inserts) – 2.00
Three levels of three pressing-ins.
3 – After fix 1 – soothing 0.17
Going gently is best as the body has to reorientate itself
4 – 2nd FIX 2.02
Checking to show you and we start anterior correction
First we are rotating the hip joint
0.40 – showing you how to hold your hands – you can see the rotation – feels good.
1.40 – we are undoing the pelvic rotation through the upper body correction
5 – Part 3 – 1.44
End of 2nd moves sequence
After the top torsion correction, we go to stretching
Initially a general stretch – for both of you, then cup palm, off to one side of the sacrum then to the other.
6 – Fix 3 – legs – 1.57
7 – Soothing – Hippy shake – 1.50
She felt all sorts of warmth as this wonderful move was happening – remember this is tending.
8 – Soothing – Hippy shake – 1.08
For no good reason I decided to do this in the middle of the O.S.L. correction ‘protocol’ . . . – likely as we had not done whats normally all ticked off first – and as she said – the second side was stiffer/less mobile.
9 – FINISH
As this was a teaching video not me actually FIXING necessarily, the FIX is not permanent corrected. We did not go through the entire sequence to get to the capstone – as this is.
1.08 – now we could do the sacral rolling again
1.18 – check again – we would have had it FIXED had we set ourselves up with all the moves leading into this – but we were filming for later (now).
Repeating on Sonia
1 – First move – 1.42
Into the different layers in the vertebral facets
2 – Setting up the second move – 1.18
Checking – you can see that my hand falls away one side, and stays firm, flatly the other.
We still need to do what we intended to initially
All i did was the SLQR briefly to almost even it up
.40 – do the SLQR to warn it all up a bit.
3 – Starting 1.18
Beginning to work on the back
More heart opening . . .we are doing teaching videos – but can’t launch straight into the O.S.L. finale, even though we have been working in everyone every day – without some warming up,
.50 – checking again – we ar estill to do what we intended
1st OSL Correction – 1.28
Reminder – use your body weight . .
Followed up with the stretches
Fix 2 – bottom/top part – 1.54
Rotating the hip
.50 – Shoulder/hip rotation
1.20 – stretch
FIX 3 – feet – 1.48
Stretch completion to then do the feet . .
As we are correcting an anterior, it is feet OUT
Leg not done – gets a good stretch – 3 lots of at least 10 seconds
Leg that was worked on – twist OUT and stretch – 3 lots of at least 10 seconds
HIPPY SHAKE to finish – 1.58
More instructions on how to do the hippy shake well .
then shakey shakey
and finish with the other side hippy shake.