Welcome
Also called infundibulopelvic ligament
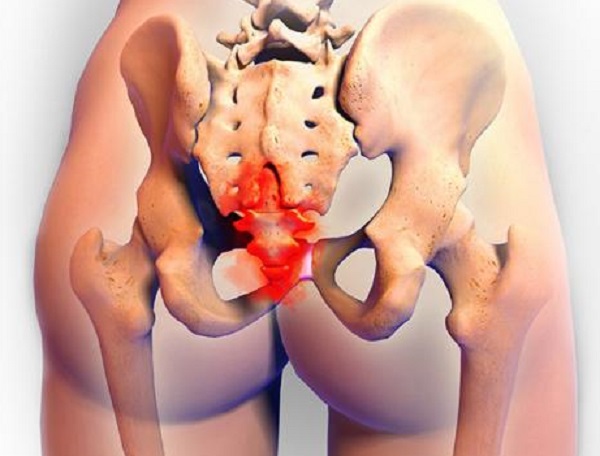
(O.S.L.)
“Is a band of peritoneum that extends upward from the upper pole of the ovary; it contains the ovarian vessels and ovarian plexus of nerves”.
My version of this move is the lynchpin at the very end of the Gentling Way Living Ligaments I work IF it is not corrected fully using the Mercier and HB inspired sequence of moves.
In L.L.I. the last thing to do done – although we check it regularly – this empowers you to know that the pelvic torsion correction is real work. Womb will then be happier. In place.
Alignment – Physical as structure determines function.
This cuts through all ‘diagnoses’ and labels – these belong to those who are not following how a body works. The are the ones who constantly say ‘we don’t know’.
O.S.L. correction is arguably the most important thing we can do – untwist a body. Think seatbelts . .we are shockingly out of alignment and I have not found ONE structural person who gets this right – hence the constant back and frth to get S- I joint calmed down – and thus the womb can’t be where she is to be – thus all the ‘hormonal’ as the ovarian vessels not allowed their free passage – can’t work well – regardless of the blood tests, the hormones dispensed, herbs taken etc. HAVE to fix the vessels going in and out so they can do their job. OVARIES WIN –
It has so many steps . . Before we get to here. What comes before will have set us up
We have to release what is keeping the body stuck in the unnatural ways it is.
AND we must work out (so it is not continuing) how did this happen?
For some – a forgotten/ignored torsion injury after a whiplash. Maybe a fall/incident long forgotten.
(Body remembers everything that it has ever happened to it)
Maybe a life of strange positioning – ask any mum – most youngsters will only sit on one hip.
Mums can get very bent
Remember – how the adhesions on that vertebrae are attacked/encouraged to let go – is why we sprinkle all sorts of other helper around – we HAVE to get this untethered.
Do watch this first . . (CLICK) Is why we CHECK and we do the repeats of so much soothing/ clearing before this move – so it ia almost last.
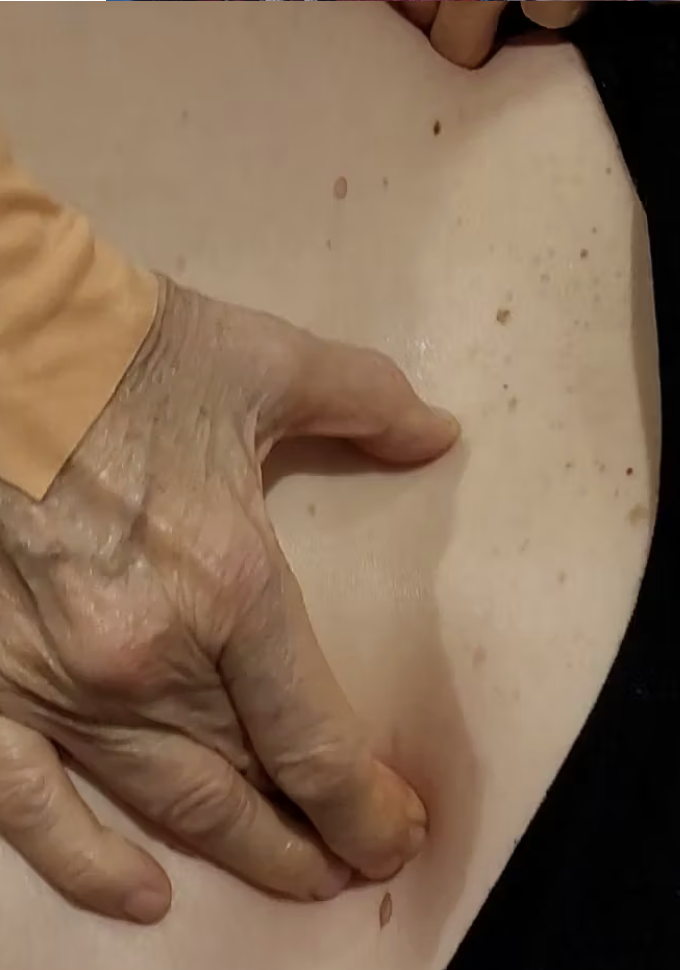
We gentle . .
That is let the body choose where next. And how.
We can watch this with all these moves.
Constantly shifting
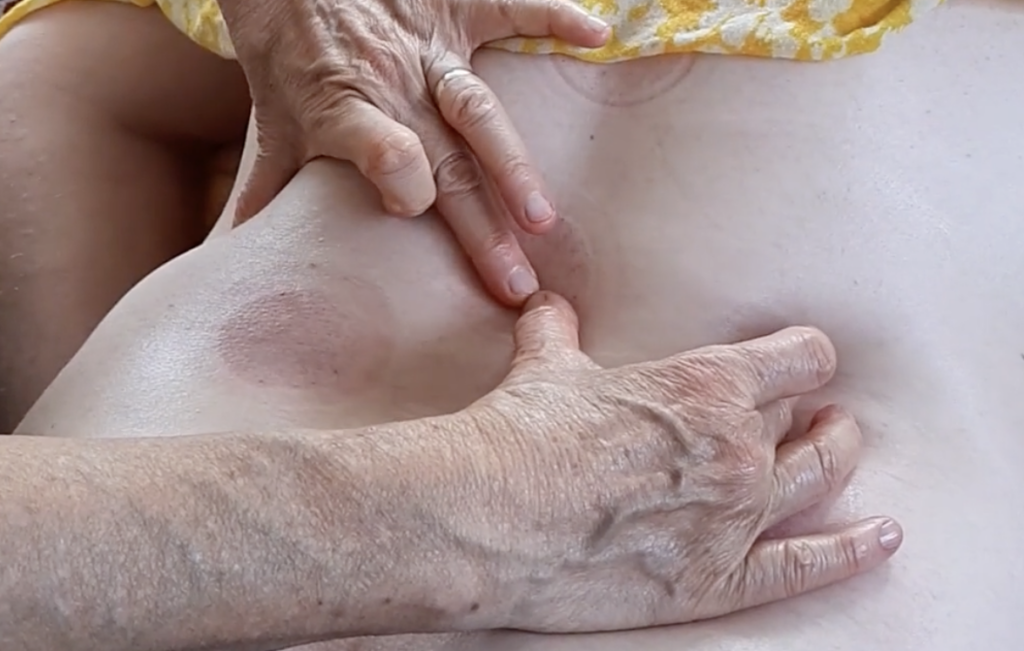
Doing the ‘V and rechecking
Watch the 2025 me demonstrating on the FNQ L.L.II. class before you go on – so you get an idea . .
FIXING – Checking in – the obligatory pull up first
- Figure of 8 . . (And keep touching the person all the time).
- 2.36 – other side to be done
- 3.45 – Listen to how she feels it change in her body)
- 5 minutes in – Steph relating how she feels with it.
- 5.40 – Observe why we stretch before – is another checker that they can FEEL the difference in.
Sacral stretches and one then other side – to show we still need to do all the other stages of this sequence.
Many steps
1 – Where the ligament attaches – part 1
As a teaching exercise we trialed the anterior – and see the difference!
We had done all the sacral smash first –
NOTE – To do the correction you need to have done all of the Mercier back then front moves to start here .
2 – The pelvic component – part 2
The anterior – ‘fall down’/slide is usual. And is done the opposite of the posterior correction (when eeh hill/sticks up.
Side not adjusted is a straight pull
A.S. – as it was a slid1 –
e down initially, and as we went UP to get it started as a move – we turn foot OUTWARDS
1 – This is a CHECKER – to be used a lot for you to see that it all moves and all the time. see what is happening with the G.L. (gladratus lumborum)
Where the point Bl 23 lies – and at the waist, at the back, where the stuck gradually releases as we work.
2 – ONE OF THE LAST MOVES – This is also not ‘corrected; until all else has been attended to.
3 – STEPS if you are –
a) – decide if anterior (‘fall down’) or posterior ‘a hill’, or flat).
If flat – perfect – nothing needs doing. Usually one side is skewiff. You may have to work out do you lift (fall down) or flatten (a hill).
This is easiest as we leave till all the preceding moves have been done.
This allows also to undo the pelvic torsion – as so many of us have been stopped by a seat belt, of =r have had some other twisting injury.
b) – the three x three moves at the waist
c) – the lift or flatten (leg and hip) and its second part – with the shoulde and hip
d) – stretching – also to show both you and the recipient of care that the pelvis is half done
e) – legs – foot in non active side stretched. or active side – twisted and stretched.
4 – IF POSTERIOR – TWIST INWARDS.
IF THE USUAL ANTERIOR – TWIST OUTWARDS.
5 – Soothe/settle with more “there there” moves – shakeys and jiggles and figures of eight, and grandma cuddles and hippy shakes – to allow all to calm after being in a maybe not there for years position – it is life changing.
And see what you have done –
IDEALLY the recipient of care will be rapt as you untangle their fascia from the back as this does.
Stretches – in between
2018 Coorparoo clinic
- Beginning – hip correction first
- 0.35 – upper body torsion shoulder
- SHOULD FEEL AMAZING AS WE DO IT – FINALLY STRAIGHTENED!
- 1.45 shakey shakey
- 2.10 – stretch to allow time for body to catch up
- 2.40 – checking in- and the H.G.W. workers – how much are YOU going to charge to FIX what no one else has been able to??
(It is great when we have an aware person who is in their body – daily yoga/committed vegetarian)
Steph stuffed her ankle – so we have to ask about surgeries on the legs before we grab, pull and twist
She said it felt releasing.
Leg pulling – could feel it up in her back. She lost her pointy wings. .
- 1.25 – shakey shakey
- 1.40 – shoulder blades straightened
- 1.46 – back stretch
Steps: set them up to win
Maybe a steam happened before this?
Would be ideal. And sacra moxa fan.
This is likely the last thing you are doing . after the entire GW session.
The sacral smash and allied moves is great when you are not too sure as to what to do.
Please do all of them – as I have discovered (2021) that the Mercier work is ‘the bomb’ – and the I.S. is to be left to the very last . . – that way it is more likely to be permanent.
When in doubt – do more of the Foundational Moves. Recycle . .
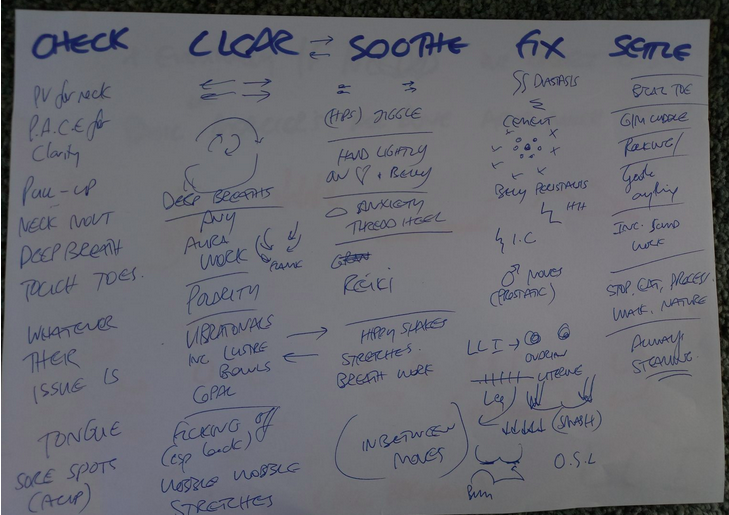
Go back through the 5 classifications – checking, clearing, soothing – this is a FIX and settle (if needed(.
- 1 – Work out which correction is needed
Look as well as feel – the pelvis may be tilted.
The shoulder blades may be a dead give away. Which waist point is sorest? Release the other one first. - 2 – Work into the vertebrae where the attachments to all different ligaments are..
- 3 – The hip/leg rotation – If it is an ANTERIOR – slide/fall down – you grasp the hip bone and rotate from the inner leg – pull it up. You round your back out, breathe in, and on your out – do it. Count of 10 x 3.
- 4 – The shoulder /hip rotation – Keeping your left hand on the hip and swap with the right – and your left now is on the shoulder blade – that is now a TWIST. Feels amazing – ask how it is – if they are not relieved/happy – maybe not needed? Count of 10 x 3.
- 5 – Shakey the way down – and on the way up. Keep your hands on the body. Go to top of body
- 6 – Stretch out – stretch YOUR back and breathe out and stretch them secondarily.
- 7 – Shakey the way down.
- 8 – Pull leg – The not involved one is only a pull. Twist OUT if anterior and IN if posterior. Pull gently.
- 9 – Shakey shakey on the way up
- 10 – Stretch – slow, firm. Each side the of back – lower onto the buttocks and on sacrum.
They now should look and feel amazingly straight.
Do the press onto the side that is ‘wrong’ feeling.
Finish as you feel to.
Maybe more SLQR and hippy shakes after some light sacral work. They really need to get up and wander about now. And only to front for what next – if you feel there is still some to do.
Pregnancy cases: surprisingly effective
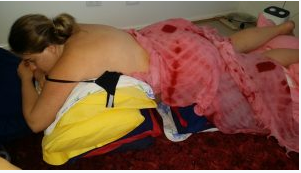
Reminder – swiggles with classifications of moves
